Hello, everyone! I’m back with an article on how to do high pass sharpening in Adobe Photoshop and Elements. Keep reading for the tutorial and the link to the free action I created using the high pass filter. The freebie will be available at my Pixels & Co. store starting this Friday, 5/17/13.
The High Pass Filter makes me think of an awesomely gorgeous mountain pass high in the Andes. But in reality, it can be used to provide sharpening to your photos.

Keep in mind that there are many ways to sharpen your photos. There is the Unsharp Mask method, the Smart Sharpen method, the LAB lightness channel method, and combinations of all of those. Add in High Pass Filter, and it starts to get difficult to decide what to use when!
I find that for most everyday uses, it doesn’t actually matter that much which method you use. If you’re emailing the picture to friends and family for fun, posting it on Facebook, or printing a 4×6″ copy, you probably won’t be able to tell much difference between the various sharpening techniques. It becomes more critical when you’re working on a very special picture, printing something at large sizes, if you’re entering a photo contest, or if you’re displaying your work for clients. In those cases, it’s a good idea to test out several different sharpening methods on your photo to see which works best.
If you want to give High Pass Filter a try, you can do it in either Photoshop or Elements. The High Pass filter works by finding lines in the photo and increasing the contrast around them. You get to select how strong the effect will be by pulling a slider bar back and forward. Here’s a sample workflow.
This following procedure works the EXACT same way in both Photoshop and Elements 11, although my screenshots are from Photoshop.
Start with a picture and make a duplicate copy of it. Then select Filter — Other — High Pass.The duplicate layer will suddenly look gray with grayish outlines, and you will get a dialog box with a slider bar that you get to adjust. I usually start with about 5, but try pulling the bar back and forward to see how the picture changes. The more dramatic the outlines in that box, the more sharpening you will get. Sometimes less is more, though — too much sharpening, as with any method, can look fake with obvious halo outlines around edges in the photo.
Once you like the look of the lines, hit OK. Now change the layer style on the duplicate layer from Normal to Overlay. Adjust the opacity until it looks “right” to you, somewhere between 20-80%.
Here are some screen shots to help you better understand the technique.

Once you have duplicated your background layer, you can run the High Pass Filter on it.

 You can pull the slider bar back and forth to change the radius. As you do that, you will see the line edges in the gray picture get more or less contrasty. The more contrast you see – the higher the radius – the more sharpening you will get.

Once you have selected the radius, hit OK. Now, click once on the High Pass layer in your layer palette to select it. Change the layer mode from Normal to Overlay. You will see the picture change from gray back to color, although it will look a lot contrastier.

Now change the opacity of the layer from 100% down to around 40% to see how you like it. If it looks good, stop there! If it’s too sharp and contrasty, reduce further. If you liked it higher, change it back. This part, like adjusting the radius on the high pass, is up to your eye to determine what works for the photograph. As you become familiar with the High Pass filter, you can try using Hard Light, Vivid Light, or another setting instead of Overlay. This will change the look of the sharpening in your photo, and some people prefer these setting to Overlay.

You can do this in Photoshop Elements, too. In Elements, open the picture you want to sharpen. Then in the menu, you go to Filter — Other — High Pass, just as in Photoshop. You do the exact same steps as above. This is one of the few techniques that works exactly the same way in both programs!
I hope this gave you the confidence and knowledge to try out the high pass filter. I use it for sharpening photos myself, in addition to the LAB method and the Smart Sharpen method — and I hope it works well for you, too!
I have a free action for you that uses the high pass filter. It will be available starting this Friday, 5/17/13, so please check back on Friday to get the download link! I’m excited to share it with you all. Here’s the sneak preview of the kit cover:

If you have questions, thoughts or comments about sharpening, please share! And thanks for reading.

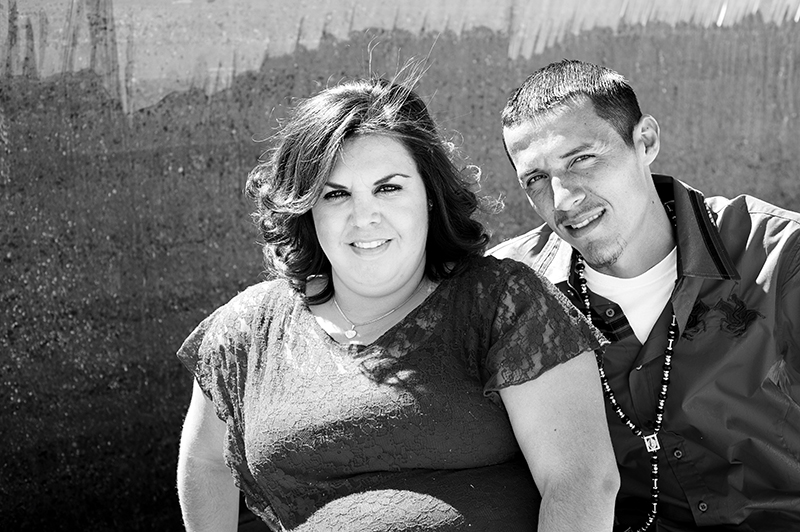
 We walked toward the big cement bridge and found some great light underneath it – perfect for getting the right skin tones. And the grungy background of the cement is totally “in” these days (you must have seen all the pictures of families by loading docks, yes?) and I loved it.
 The whole family had a ton of patience – most kids are “done” with photos after 30 minutes and refuse to take more, but they were troopers and kept going as long as we kept suggesting new locations for photos.
 The weather was crisp in the morning and hot at mid-day, but it was not too hot, and overall it was perfect for the photo shoot.
